
How to Build a Covered Play Area Kids Can Use All Year
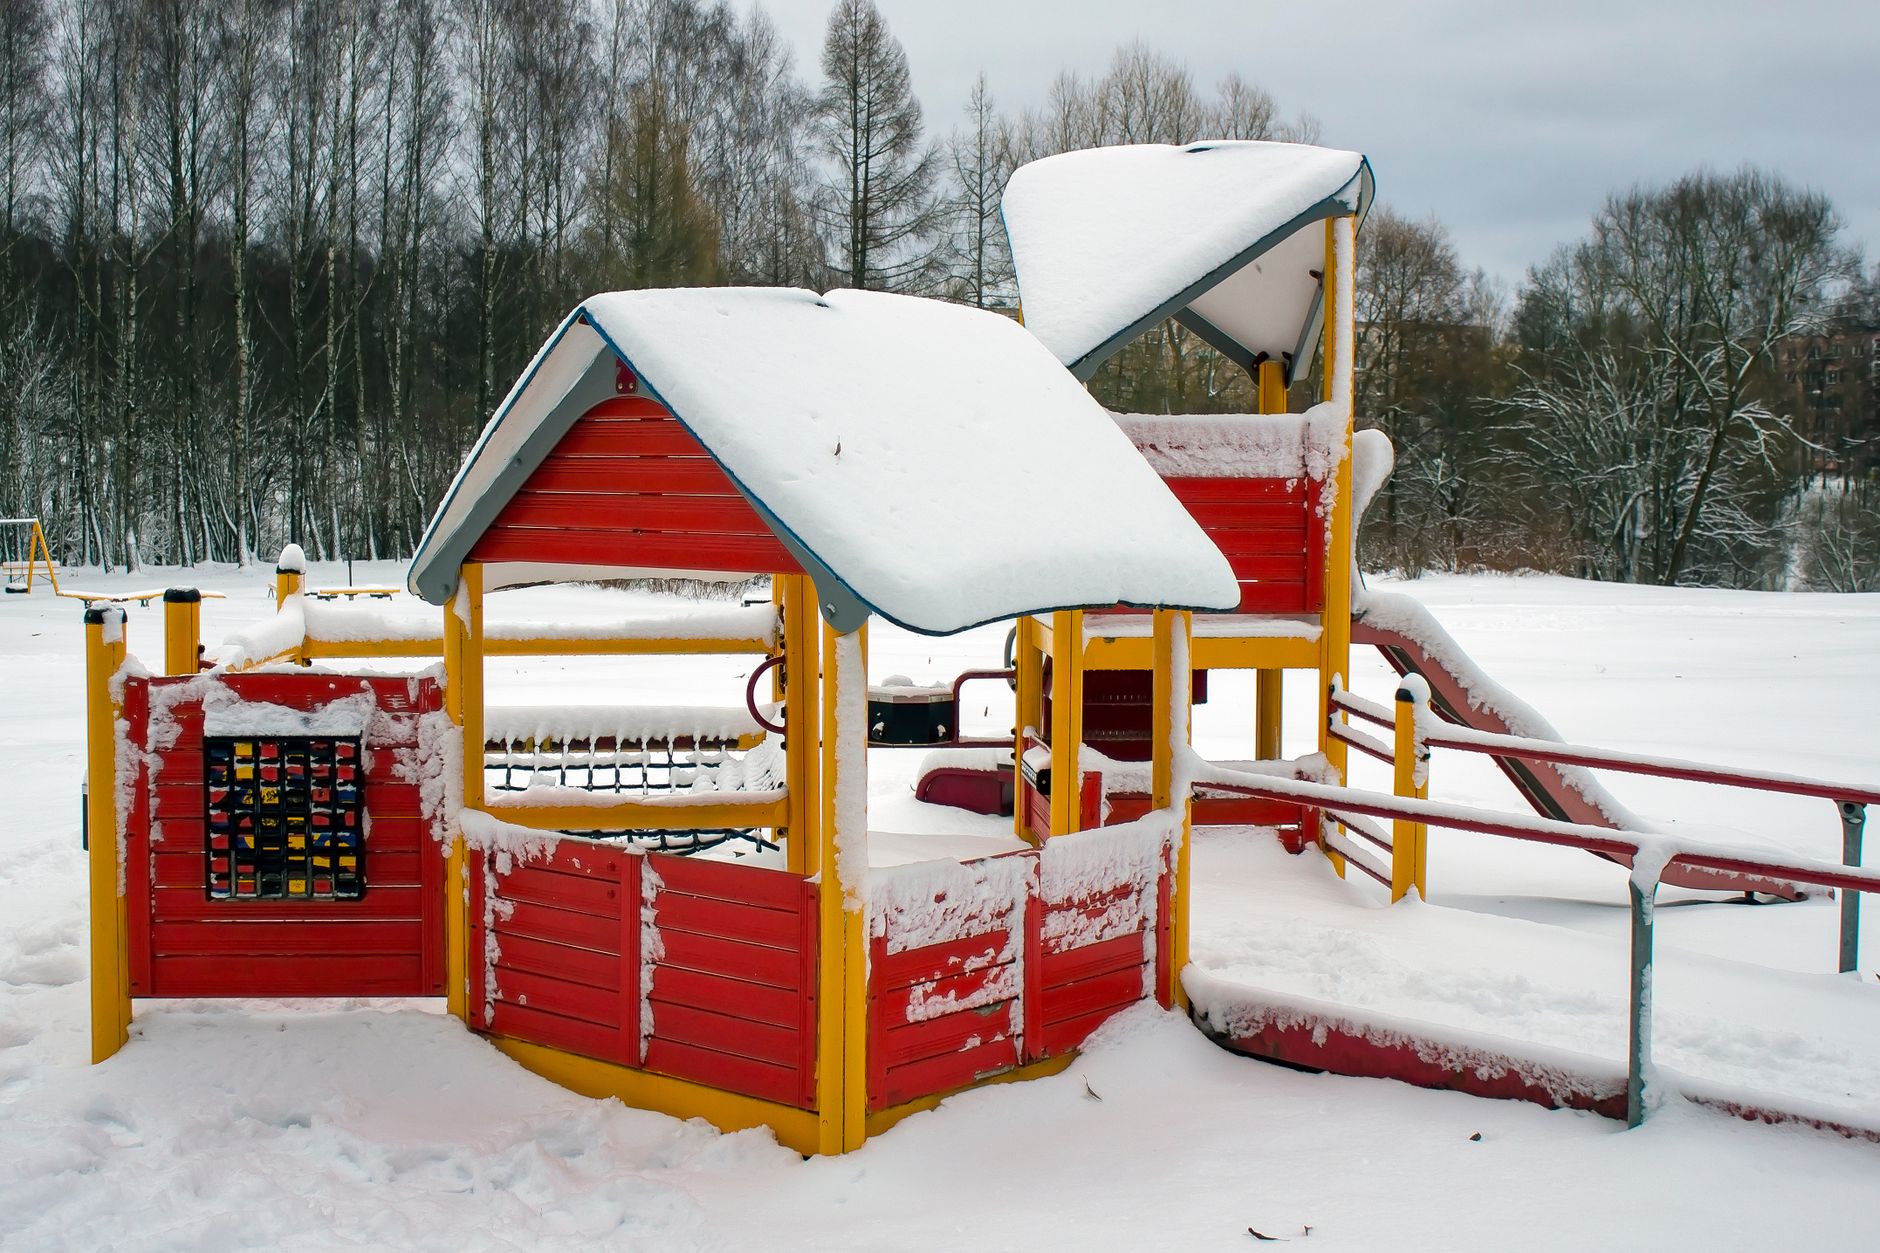
If you’ve got children, you know the drill. They’re desperate to get outside, bouncing off every wall in the house, and then the rain rolls in. Again. Honestly, if you wait for a proper dry spell in the UK before letting the kids loose in the garden, you’ll lose about half the year to it. A covered play area sorts that out completely, and it gives them somewhere that belongs to them no matter what the sky’s doing.
Here’s the thing most people don’t realise: you can build one yourself over a long weekend without calling in a tradesperson. A bit of planning, the right materials and a free Saturday morning to get started will take you surprisingly far. Follow along as we walk through every key decision you’ll need to make, from picking the right spot all the way through to what goes on the roof, plus a couple of moments where you might want to rope in a mate who’s handier with a drill than you are.
Step 1: Pick a Spot You Can See from the Kitchen
Before you spend a penny, take a few days just watching how the garden actually gets used. Where do the kids end up most of the time? Where does rainwater tend to collect after a downpour? And can you see that spot from inside your house?
Being able to glance out of the kitchen or living room window and check on the kids makes all the difference in whether they’ll actually use the space independently. Tucking the whole thing behind the shed sounds clever on paper because you’re using dead space, but the reality is it’ll barely get touched if you can’t keep half an eye on what’s going on out there. So pick a spot you can see.
Stay away from the lowest point in the garden where water pools after rain, and think about which direction the wind usually comes from too. If the cover is open on the windward side, rain will blow straight through and you’ll have defeated the entire purpose of building it.
Step 2: Get the Ground Right First
Most people underestimate how much the surfacing underneath matters. Grass will turn to a mudslide within a few weeks if kids are running across it every day, and it’ll be even worse under a roof because the ground won’t dry out properly.
Rubber bark chips drain well and they’ll cushion any tumbles, so they’re a popular option for good reason. Resin-bound gravel is a better shout if you want something firmer that scooters and bikes can roll over easily. Even basic paving slabs with a gentle slope for drainage will do the job fine, though they’re obviously harder on little knees when someone takes a spill. Whatever surface you go with, make sure it slopes away from the house. A couple of centimetres over a metre is plenty to stop puddles forming underneath the canopy.
Step 3: Timber Posts and a Simple Lean-To for the Frame
A lean-to is by far the easiest structure to build yourself because one end fixes to the house wall or fence and the other sits on freestanding posts, which gives you a natural pitch so rainwater runs off on its own. You’ll fix a horizontal ledger board at the high end, then set two or more timber posts into the ground at the low end to carry the front beam.
Go with 100mm x 100mm treated timber posts at a minimum and set them into postcrete or concrete at least 600mm deep. Bolt the crossbeams on instead of just screwing them. This structure will take wind load year after year, and screwed joints will eventually work themselves loose.
Now, if you’re not confident drilling structural fixings into masonry, this is the one part of the build where getting a builder in for half a day will save you a headache. Everything else is more forgiving. The frame isn’t.
Step 4: Cover the Whole Thing
The roof matters more than you’d think, because a dark, gloomy cover will make the whole area uninviting and the kids won’t want to play under it. You need something that lets light through but can also take the odd football smacking into it without cracking.
A clear polycarbonate multiwall sheet in 16mm thickness works really well for this kind of project. The multiwall structure makes it rigid enough to span between rafters without flexing, and it comes with built-in UV protection so it won’t yellow or turn brittle after a few summers in the sun. It’s also much lighter than glass, which means you can fit it on your own without needing someone to hold the other end.
Cut your sheets to size before you climb the ladder. You’ll need glazing bars between panels and end closures to seal the open edges, because if you skip that step, you’ll end up with condensation and dead insects building up inside the flutes. Fit breather tape along the lower edge and solid tape at the top to keep moisture out while still allowing airflow through.
Step 5: Don’t Forget Storage
Without somewhere to put things away, a covered play area will quickly end up surrounded by muddy ride-ons and half-deflated footballs. A simple bench seat along the back wall with a hinged lid solves that problem overnight, because the kids can dump outdoor toys inside at the end of the day and the space stays clear.
You could also fix a few heavy-duty hooks to the posts for hanging scooters and helmets off the ground. Clutter on the floor eats into the usable space fast, and before long nobody wants to play out there because it’s too cramped and messy.
A Space That Will Get Used in Every Season
Once it’s up, you’ll use it far more than you expected. Summer afternoons when the sun’s too strong, the kids will have shade. Wet October half-terms, they’ll be out there building dens and riding bikes while everyone else’s children are stuck indoors.
Cold January mornings, they’ll still get fresh air instead of begging for more screen time. The whole build won’t eat up more than a long weekend if you’ve prepped your materials in advance, and you’ll genuinely wonder why you didn’t do it years ago.