
How to Download and Use Kokila Font on Your Laptop?
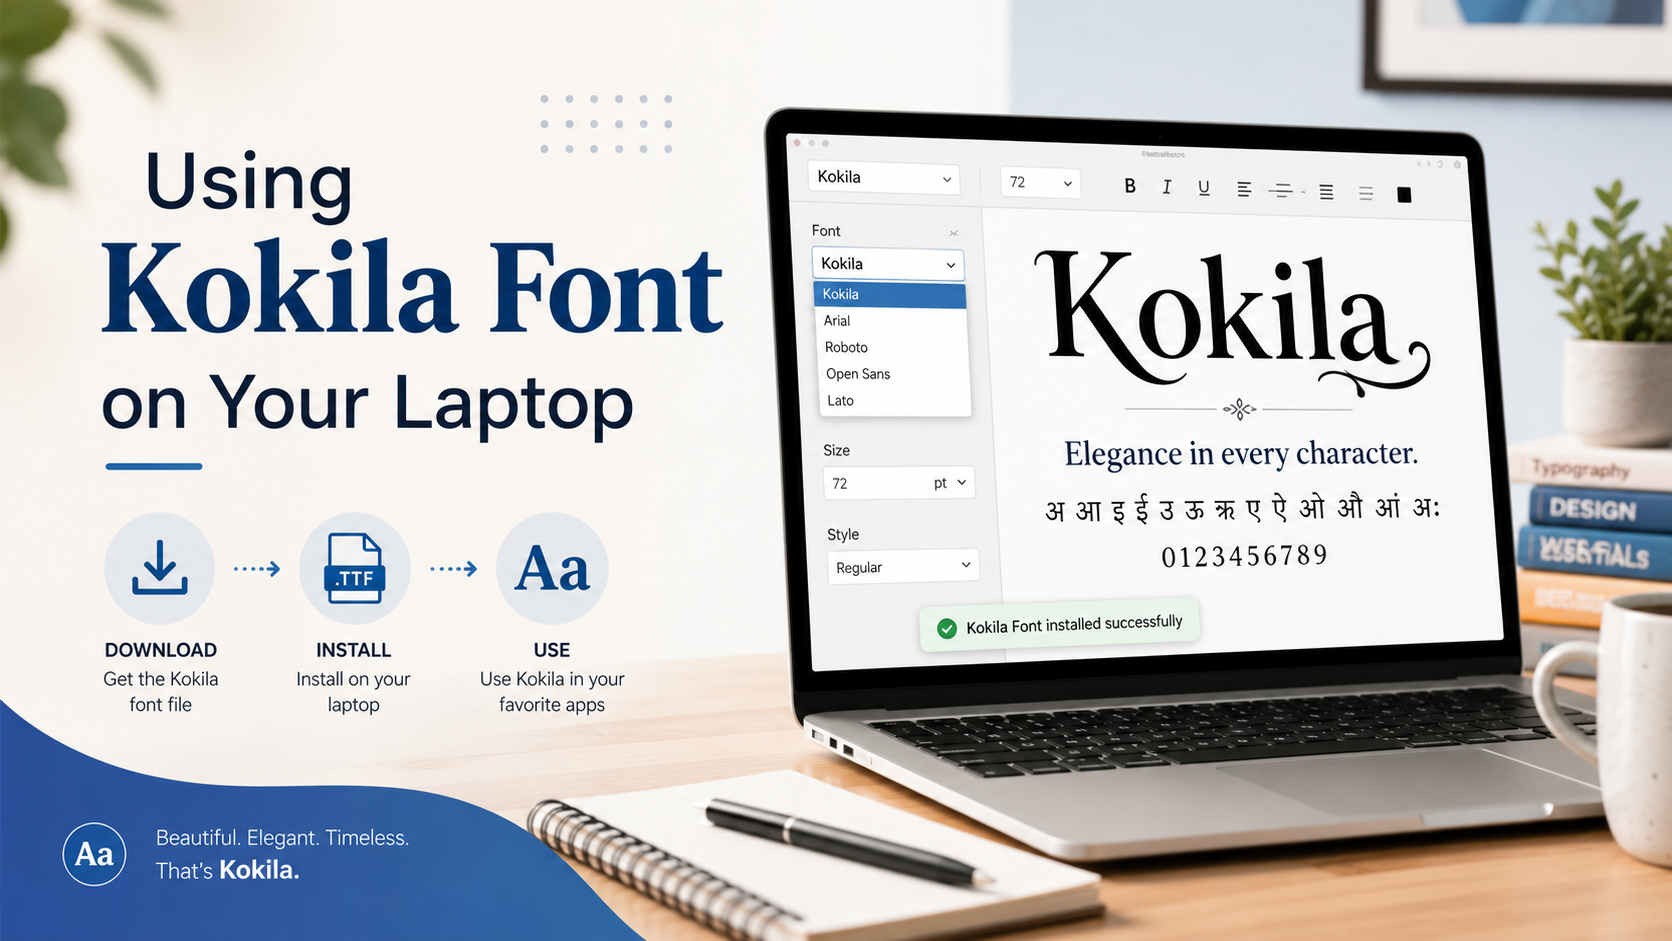
Kokila is a clean and traditional Devanagari typeface commonly used for writing Hindi, Marathi, Sanskrit, and other languages that use the Devanagari script. Its balanced letterforms and excellent readability make it suitable for educational documents, official letters, books, poetry, presentations, invitations, and digital content.
The font provides a professional appearance without making the text look overly decorative. This makes Kokila particularly useful for students, teachers, writers, designers, publishers, and office workers who regularly create content in Hindi or other supported languages.
Installing and using Kokila on a laptop is generally straightforward. However, the exact process may vary depending on whether you are using Windows, macOS, Microsoft Word, Photoshop, Canva, or another application. This guide explains how to download, install, and use the Kokila font correctly on your laptop.
What Is the Kokila Font?
Kokila is a Devanagari typeface designed to display Indian-language text clearly on digital screens and printed pages. It includes carefully shaped characters, vowel signs, conjuncts, punctuation marks, and numerical symbols required for properly written Devanagari text.
Unlike highly decorative Hindi fonts, Kokila has a more formal and readable structure. It can therefore be used for both personal and professional projects. Its traditional appearance works particularly well in documents where clarity and authenticity are important.
Kokila may already be available on some Windows systems, especially computers that have additional language packs or Microsoft applications installed. However, it may not appear on every laptop by default. In that case, you will need to obtain the font file and install it manually.
The font is commonly available in formats such as TTF, which stands for TrueType Font. TTF files are widely supported by Windows, macOS, Microsoft Office, Adobe software, and many other desktop programs.
How to Download Kokila Font?
Before installing the font, you need to obtain its installation file from a reliable source. Avoid downloading font packages from suspicious websites, as they may contain damaged files, unwanted programs, or misleading download buttons.
To get the correct file, visit a trusted font website and select the option to download kokila font to your laptop. The downloaded file may arrive as an individual TTF file or inside a compressed ZIP folder.
After the download finishes, open your laptop’s Downloads folder. Look for a file with a name such as:
- Kokila.ttf
- Kokila Regular.ttf
- Kokila Bold.ttf
- Kokila Font.zip
The exact filename may differ depending on the website and the available font styles.
When the font is provided in a ZIP folder, do not try to install it directly from inside the compressed folder. Extract its contents first so your operating system can properly access the font files.
Why Should You Use Kokila Font?
The biggest advantage of Kokila is its readability. Devanagari text can become difficult to understand when a font has poor spacing, inaccurate character combinations, or overly stylized letterforms. Kokila maintains a clean structure that helps readers recognize words comfortably.
It is suitable for many different purposes, including:
- Hindi essays and assignments
- School and university projects
- Government-style documents
- Religious and Sanskrit content
- Books, magazines, and newspapers
- Wedding cards and invitations
- Posters and banners
- YouTube thumbnails
- Social media graphics
- Business presentations
- Hindi website content
Kokila also offers a traditional visual style that gives Devanagari writing a familiar and respectable appearance. It is not excessively bold or ornamental, so it can be used for long paragraphs as well as headings.
How to Extract the Kokila Font ZIP File
Most font websites compress their files into ZIP folders to make downloading easier. You must extract the ZIP package before installing the font.
On a Windows laptop, follow these steps:
- Open the Downloads folder.
- Locate the Kokila ZIP file.
- Right-click the file.
- Select “Extract All.”
- Choose the destination folder.
- Click “Extract.”
A new folder containing the Kokila font files will appear. Open it and look for files ending in .ttf or .otf.
On a MacBook, double-click the ZIP folder. macOS will automatically extract it and create a regular folder in the same location.
You can now proceed with the installation.
How to Install Kokila Font on Windows
Windows provides several easy methods for installing a font. The simplest option is to open the font file and use the built-in installation button.
Follow these instructions:
- Find the extracted Kokila TTF file.
- Double-click the font file.
- A preview window will open.
- Review the displayed characters.
- Click the “Install” button at the top.
- Wait for the installation to finish.
You can also right-click the font file and choose “Install.” When multiple people use the same laptop, you may see an “Install for all users” option. Selecting it makes the font available to every Windows account on that computer.
Another method is to drag the font file into the Windows Fonts folder:
- Open Windows Settings.
- Select “Personalization.”
- Open the “Fonts” section.
- Drag the Kokila TTF file into the installation area.
Once installed, Kokila should become available in programs that use your system’s font library.
How to Install Kokila Font on a MacBook
Kokila can also be installed on macOS, provided you have a compatible TTF or OTF file.
Use the following process:
- Open the folder containing the font.
- Double-click the Kokila font file.
- The Font Book application will open.
- Review the font preview.
- Click “Install Font.”
- Allow Font Book to complete the installation.
After installation, the font should appear in compatible Mac applications, including Pages, Keynote, Microsoft Word, Adobe Photoshop, and Adobe Illustrator.
When macOS displays a warning about a duplicate font, check whether Kokila font is already installed. Installing multiple copies of the same font can sometimes create conflicts, so it is usually better to keep only one active version.
How to Use Kokila Font in Microsoft Word
After installing Kokila, close and reopen Microsoft Word. Restarting the application allows Word to refresh its font list.
Create a new document and follow these steps:
- Click the font selection box in the Home tab.
- Type “Kokila” into the search field.
- Select the font from the results.
- Choose an appropriate font size.
- Start typing or paste your Devanagari text.
To type directly in Hindi, you may need to enable a Hindi keyboard on your laptop. Installing a font changes how characters look, but it does not automatically change your keyboard language.
On Windows, open Settings and go to “Time & Language.” Select “Language & Region,” add Hindi as a preferred language, and install the available keyboard layout. You can then switch between English and Hindi through the language icon on the taskbar.
For body text, try a size between 12 and 16 points. For headings, a size between 20 and 36 points may be more appropriate. The best size depends on the document format and where the content will be displayed.
What to Do If Kokila Does Not Appear?
Sometimes a newly installed font does not immediately appear in an application. This usually happens because the program was open during installation and has not refreshed its font library.
Start by closing and reopening the application. When that does not work, restart your laptop.
You should also verify that the font was properly installed. On Windows, search for “Font settings” and enter Kokila in the installed-font search box. On macOS, open Font Book and search for the font name.
Other possible solutions include:
- Extracting the font before installation
- Removing duplicate versions
- Reinstalling the TTF file
- Updating the application
- Checking the application’s language support
- Installing a compatible font version
- Clearing the application’s font cache
The font may appear under a slightly different family name, so try searching for “Kokila” rather than relying only on alphabetical browsing.
How to Uninstall Kokila Font
You can remove Kokila when it is no longer required or when you need to reinstall a cleaner version.
On Windows:
- Open Settings.
- Go to “Personalization.”
- Select “Fonts.”
- Search for Kokila.
- Open the font family.
- Click “Uninstall.”
On macOS:
- Open Font Book.
- Find Kokila.
- Right-click the font.
- Select “Remove” or “Disable.”
Restart any open design or writing applications after uninstalling the font.
Tips for Using Kokila Effectively
Use Kokila at a comfortable size, especially when creating long Hindi paragraphs. Very small text may make vowel signs and combined characters difficult to distinguish.
Maintain enough line spacing so the upper and lower character marks do not overlap nearby lines. For printed documents, test a sample page before finalizing the complete project.
Kokila works best when paired with a simple English font. For bilingual documents, you can combine it with fonts such as Arial, Calibri, Times New Roman, or another clean typeface. Keep the overall design consistent by limiting the number of fonts used in one project.
Always check the font’s licensing terms before using it in commercial work. A font that is available for personal use may require separate permission for logos, products, client projects, advertisements, applications, or large-scale distribution.
Conclusion
Kokila is a practical and visually balanced Devanagari font for Hindi documents, educational content, publications, presentations, invitations, and graphic designs. Its clear character shapes make it particularly useful for projects that require a traditional yet professional appearance.
To use it, download the correct font file, extract the ZIP folder when necessary, and install the TTF or OTF file through your laptop’s font settings. Restart your writing or design program afterward, select Kokila from the font menu, and enable a Hindi keyboard when you need to type in Devanagari.